站点介绍
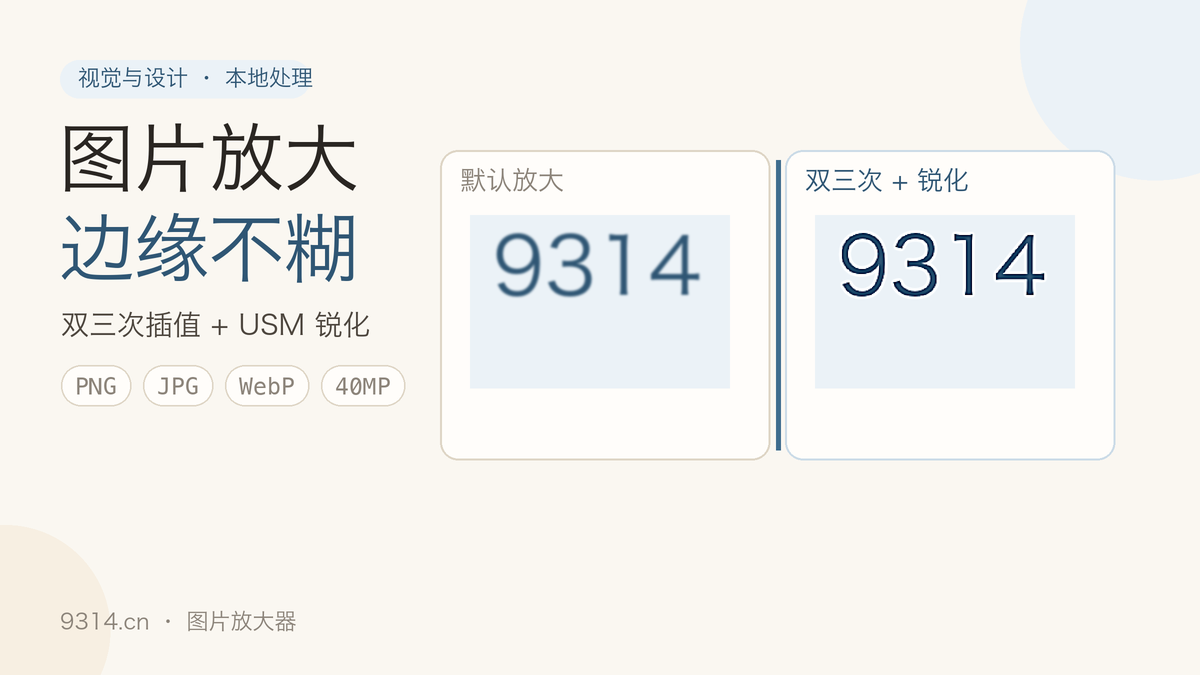
A 480 by 360 scan I enlarged last week turned into soup the moment the file viewer hit 4x. Same pixels, same information - the default scaler just spreads every edge across four times the area. Bicubic resampling with a touch of unsharp masking keeps those edges readable, and the whole pipeline below runs inside your tab.
2x, 4x, or any factor from 0.5x to 8x, resampled with separable cubic convolution - not the browser default.
Sharpening is a genuine unsharp mask: strength 0 turns it off, radius controls how far the halo reaches.
Export PNG, JPG, or WebP and watch the file size update before you download.
Nothing leaves the browser; targets above 40 megapixels or a 12000 pixel side are refused up front.
When a viewer stretches 100 by 100 pixels to 400 by 400, it usually interpolates bilinearly: each new pixel blends its 2 by 2 neighborhood with linear weights. Transitions stay smooth, but edges smear - a 1 pixel hairline becomes a three or four pixel gray band.
Bicubic sampling reads a 4 by 4 neighborhood and weights it with a cubic kernel. That kernel slightly overshoots on both sides of an edge, and your eye reads the overshoot as crispness. This is why an old photo looks sharper after 4x even though not one pixel of new information was added.
The resampler works in two passes: horizontal first, then vertical. Splitting the work drops each output pixel from 16 multiply-adds to two rounds of 4, and only the few source rows currently needed stay in memory, so a 4x enlargement does not multiply the scratch buffer by 16.
Samples that fall outside the image replicate the nearest pixel, and the four kernel weights are normalized. Skip the normalization and a flat 250-gray block drifts down to 248 after enlarging - the faint dirty rim around pale areas comes from exactly this.
Downscaling flips the order: the browser first pre-shrinks the source to twice the target with high-quality smoothing, then bicubic finishes the job. Feeding a 4-tap kernel straight into a 0.5x reduction makes brick walls and stripes shimmer with moire.
An unsharp mask subtracts a blurred copy from the original, isolating the edge difference, then adds it back scaled by the strength. The radius decides how wide an edge counts: 0.8 to 1.5 px flatters text and screenshots, 2 px and above shapes photo contours.
My own defaults: 0.6 strength with a 1.0 px radius for screenshots, 0.4 with 1.8 px for photos. Past 1.2 strength, white text on dark backgrounds grows a visible halo. That is not a bug - it is the physics of sharpening.
Screenshots, line art, icons, and scanned tables reward enlarging the most. A night photo that already carries noise will carry that noise into every new pixel; denoise first, enlarge second. I also keep 8x out of my regular rotation: up to 2x the result is visually clean, 4x starts showing interpolation traces, and 8x mainly exists to hit a print dimension.
One more warning: enlarging cannot rescue an over-compressed JPEG. The 8 by 8 block artifacts are already baked into the pixels, and sharpening only makes the blocks louder.
No. Bicubic interpolation has a hard ceiling: it keeps edges crisper and cuts the stair-stepping, but it cannot invent detail that was not in the original file. Text that is already mush at 100 percent stays mush - just smoother mush.
Never. The file is decoded, resampled, sharpened, and encoded inside this tab, and the image data never enters a network request or localStorage. Reopening the page means picking the file again. The Clear my data link in the footer removes saved settings, not images.
A 40 MP canvas plus the intermediate pixel buffers can run a phone browser out of memory, and a 12000 pixel side hits the same wall. The tool computes the target size first, refuses politely, and tells you the largest factor that still fits.
You now have 4x the pixels. PNG grows almost linearly with pixels; JPG and WebP compress better. Dropping JPG quality from 0.92 to 0.8 usually halves the file with no visible difference at normal viewing size.
中文版:https://www.9314.cn/tools/image-upscale/
相似站点
评论列表 (0条)